With the free All-in-One WP Migration plugin you can move a complete WordPress site (database, themes, plugins, media) in three steps: export it to a single file, import that file at the new location and check everything. You don’t need FTP or database knowledge.
Please note: an import overwrites the content of the destination site, including its users. Always use an empty or new WordPress installation as the destination.
What do you need?
- An administrator login on the source site (the site you want to move).
- A fresh WordPress installation on the destination with an administrator login.
- Enough disk space on your computer for the export file (.wpress).
Step 1: install the plugin on both sites
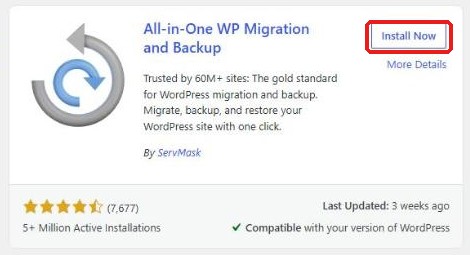
On both sites, go to Plugins → Add New, search for All-in-One WP Migration, click Install Now and then Activate.
Step 2: export the source site
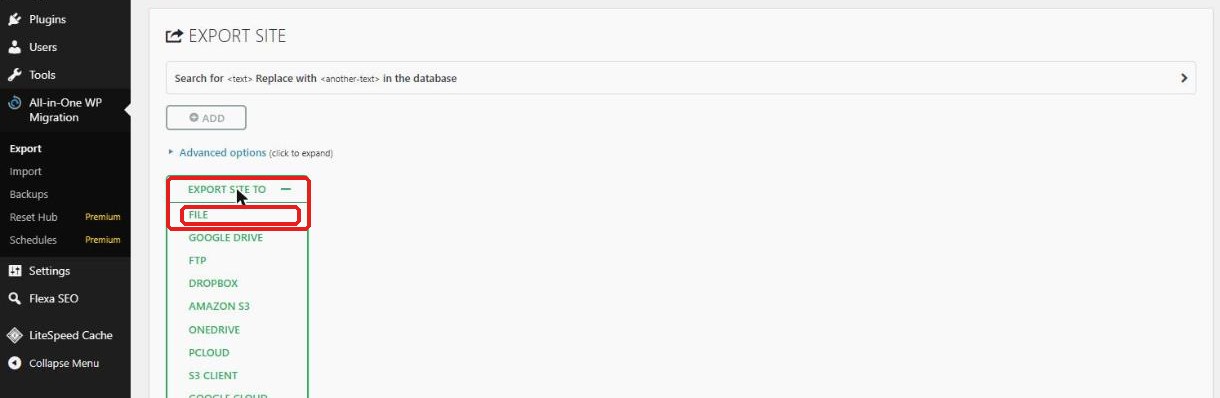
On the source site, open All-in-One WP Migration → Export in the menu and click Export site to. Choose File.
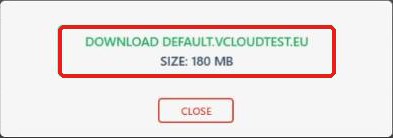
After a moment a window appears showing the size of the file. Click the green button to download the file and save it on your computer.
You don’t need to change the default options. They are under Advanced options and are only needed if you want to exclude media or inactive themes, for example.
Step 3: check the upload limit on the destination
On the destination site, go to All-in-One WP Migration → Import. Below the upload box you can see the maximum upload size the server allows, 256 MB in our example. Your export file must be smaller than that.
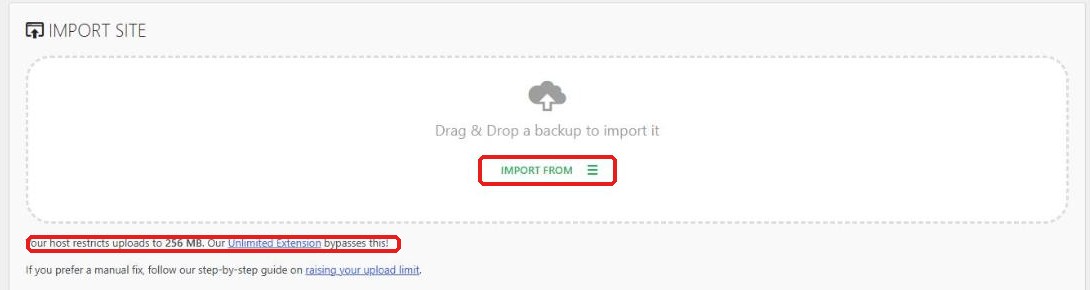
Is your file larger than the limit? Then increase the PHP settings upload_max_filesize and post_max_size, or use the paid Unlimited Extension of the plugin, which bypasses the limit. Is your site hosted with us? Then we will adjust this for you.
Step 4: import the file
Drag the .wpress file into the dotted box, or click Import from → File and choose the file. After uploading, the plugin asks for confirmation. Read the message carefully: it also contains a warning if the PHP version of the source and the destination differ.
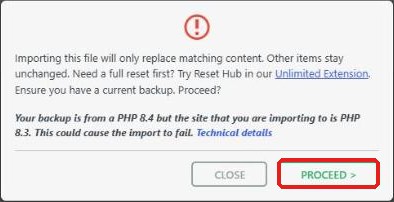
Wait until the import has finished and do not close the page. For large sites this can take a few minutes. Then you will see the confirmation.
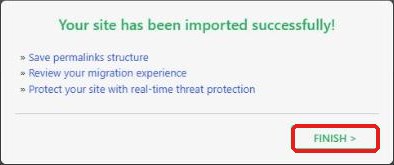
Step 5: finish the migration
- Log in again. The users of the source site have been copied over, so log in with the details of the old site.
- Save the permalinks: go to Settings → Permalinks and click Save Changes without changing anything. This prevents “page not found” errors.
- Check the site: look at the home page, a few pages, images and your contact form.
- Licences: some paid plugins or themes (for example Elementor Pro) tie their licence to a domain. If the domain has changed, activate your licence again.
- Cache: clear the cache of any caching plugin.
Troubleshooting
- Upload fails or hangs: the file is larger than the upload limit, see step 3.
- Import gets stuck: try again and keep the page open until the message appears.
- Error after the import: save the permalinks and clear all caches.
- You can’t log in anymore: use the username and password of the source site.
Still can’t get the migration to work? Send us the error message or a screenshot via your client area and we will help you.


